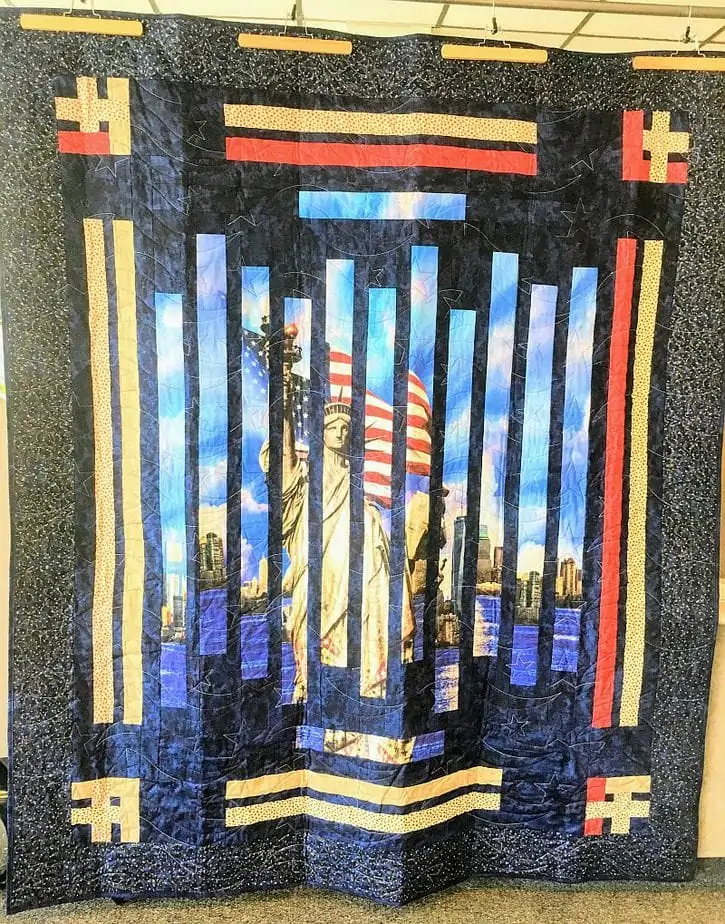
Fracturing a quilt is a great way to showcase a panel or large scale design. There are several ways to fracture a quilt. Here is how I made this quilt, which was inspired by the Fantasia pattern by Broome Street Patterns.
The Outlaw Biker Quilt
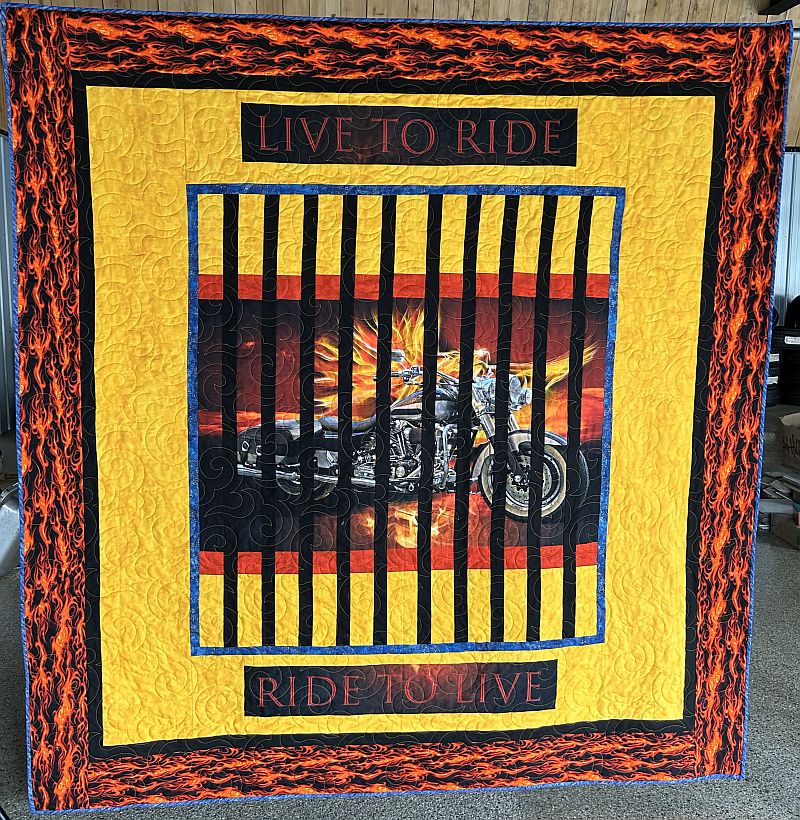
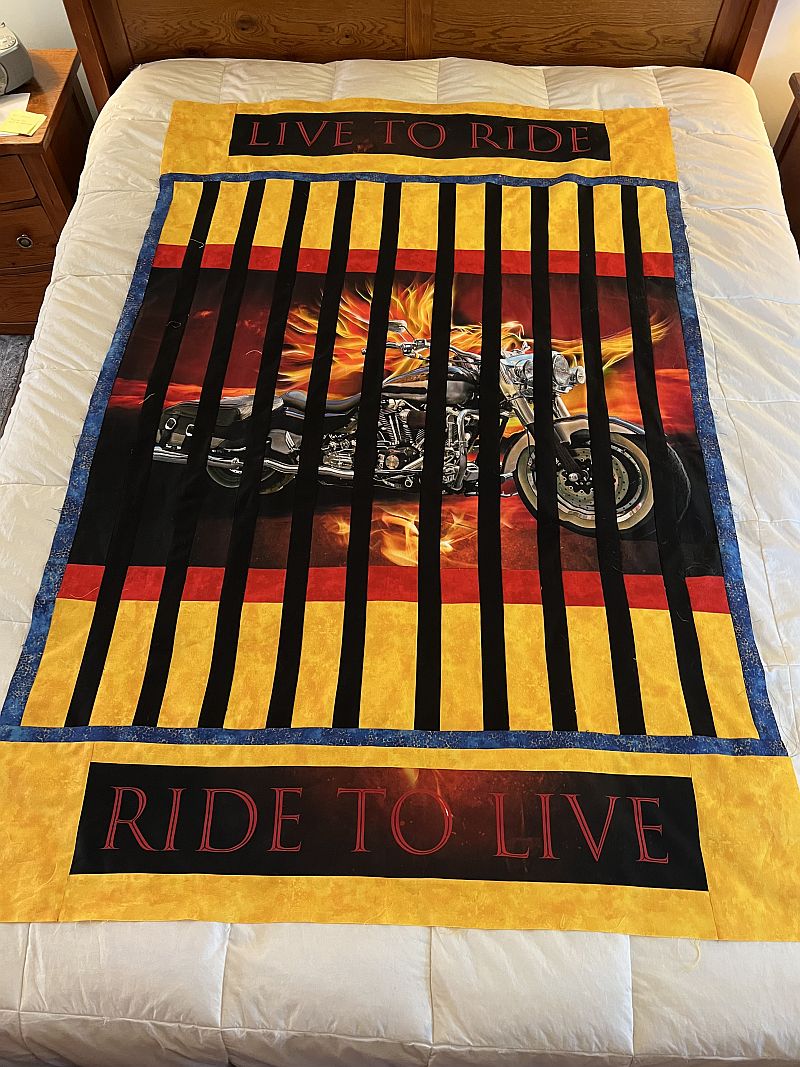
The quilt above was created using a 35″ x 44″ quilt panel of a motorcycle, called Live to Ride.

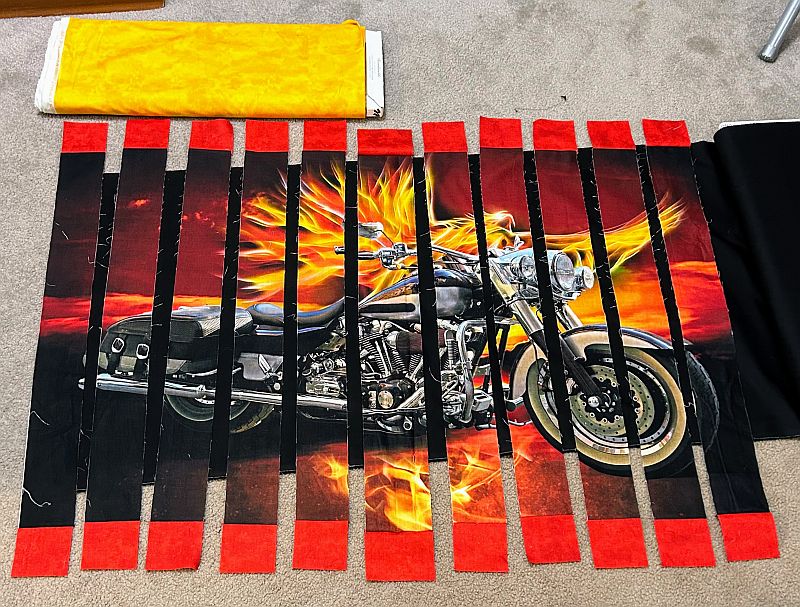
Since this panel was to be fractured, I had to remove the top and bottom section so I didn’t cut through the legends. This gave me a section that was 35″ x 27″. After auditioning several colors, I decided that I wanted to sew a red top and bottom border on this section, followed by a gold border.
I sewed on the red border, then folded the quilt vertically and cut it every 3″. That gave me a larger section for the middle. At the time, I thought I would moved the pieces up and down like a bargello and then sew on the gold. When I auditioned the black fabric for the bars I decided against that. I thought you wouldn’t be able to see the motorcycle very well. So I had to add each gold piece individually.
Because I wanted to make this into a larger quilt, I decided to cut the bars 2″ wide. In retrospect, that was not the best idea. It made the motorcycle look like it was in jail. No worries. It’s not a design flaw, it’s a feature! The quilt was promptly named “The Outlaw biker.
After sewing the middle section and adding a thin blue border to pick up the blue in the bike, it was time to add the legends. I decided to surround them with the gold and sew them to the top and bottom of the top.
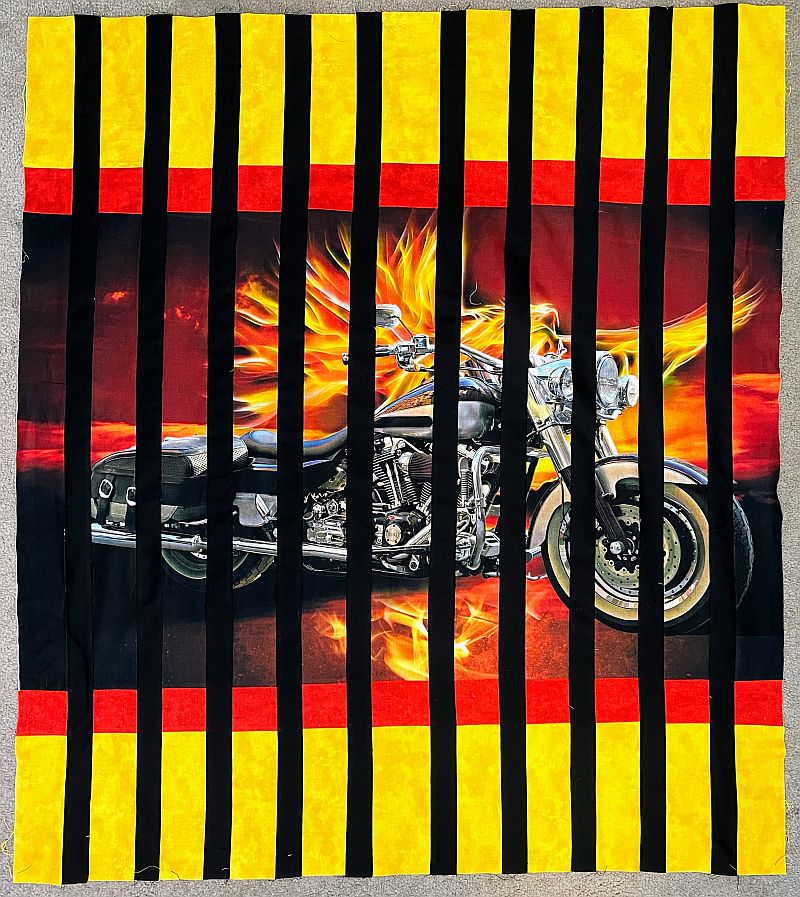
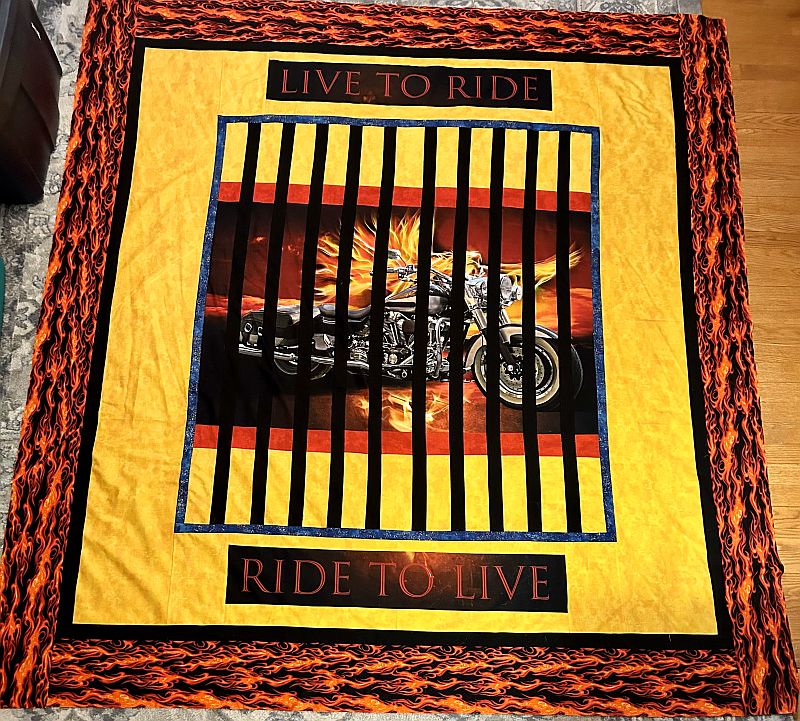
Adding the Borders
I put it on the bed to measure for the borders but it turns out that the bed was too soft. Wavy borders aren’t good. I put it on the floor for accuracy. Here is a picture of the finished top.
Have you ever fractured a quilt panel or fabric? Send a picture to quiltwebdesigns@gmail.com. I will be glad to share it.